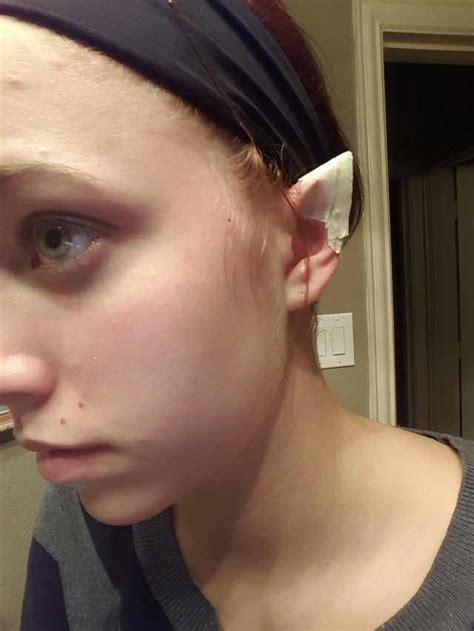
Cosplay enthusiasts, rejoice! Elf ears are a staple accessory for any fantastical character, and now you can create your own custom pair with ease. Whether you’re a seasoned cosplayer or a newcomer to the craft, this step-by-step guide will empower you to transform yourself into an ethereal elf.

Materials You’ll Need:
- Foam rubber or thermoplastic
- Scissors or craft knife
- Hot glue gun and glue sticks
- Acrylic paint or makeup
- Ear wire (optional)
Step-by-Step Instructions:
1. Gather Your Materials
Start by assembling all the necessary materials. Foam rubber is a pliable yet durable material that’s easy to shape and paint. Alternatively, thermoplastic can be heat-formed for a more intricate look.
2. Create the Base Shape
Using scissors or a craft knife, carefully cut out the basic shape of your elf ears from the chosen material. Start with a teardrop shape that’s slightly wider at the top.
3. Add Details
Once you have the base shape, it’s time to add some details. Use a craft knife to create delicate folds and curves along the edges. For a more natural look, consider adding small imperfections like notches or ridges.
4. Paint or Makeup
To match your skin tone or add color to your elf ears, paint them with acrylic paint. Alternatively, you can use makeup for a more temporary effect. Apply a thin layer of glue to the back of the ears before attaching them to your skin.
5. Secure with Ear Wire (Optional)
If desired, you can add ear wire to your elf ears for a more secure fit. Simply glue the wire to the back of the ear and thread it through your earlobe.
Variations on the Basic Design:
1. Pointed Ears
For a classic elf look, make the pointed tip of the ear longer and sharper. Consider adding a small curl or notch to the top for a touch of elegance.
2. Rounded Ears
For a softer and more delicate appearance, round off the pointed tip of the ear. You can also add a slight flare at the base for a more whimsical effect.
3. Elongated Ears
Create ears that extend beyond the natural length of your own ears. This dramatic look is perfect for characters with a strong elven heritage.
4. Asymmetrical Ears
Break away from symmetry by creating ears that are different in size or shape. This unique variation will add character and personality to your cosplay.
5. Textured Ears
Add texture to your elf ears by carving patterns or designs into the material. This will give your ears a more realistic and intricate appearance.
Frequently Asked Questions:
Q: What’s the best material to use for elf ears?
A: Foam rubber is a great choice for beginners due to its ease of use and affordability. Thermoplastic offers more durability and allows for more intricate shaping.
Q: How do I make my elf ears stay on?
A: Applying a thin layer of spirit gum to the back of your ears will help them adhere to your skin. Alternatively, you can use ear wire or tape for a more secure hold.
Q: How do I paint elf ears?
A: Use acrylic paint to match your skin tone or add color. Apply several thin layers and let each layer dry completely before applying the next.
Conclusion:
Embrace your inner elven spirit with custom-made elf ears. Whether you opt for pointed, rounded, elongated, or asymmetrical ears, the possibilities are endless. With a little creativity and the step-by-step instructions provided, you can unleash your own enchanting elf cosplay look. So, gather your materials, let your imagination soar, and transform yourself into the ethereal being you’ve always dreamed of becoming!
