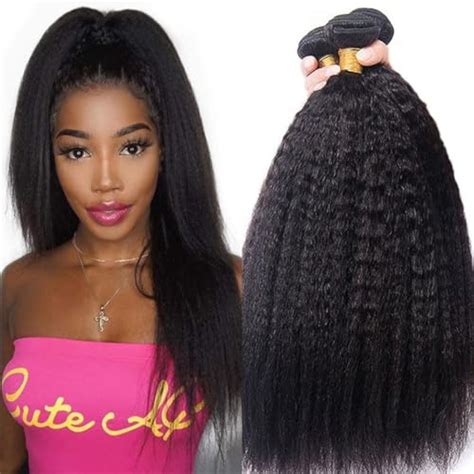
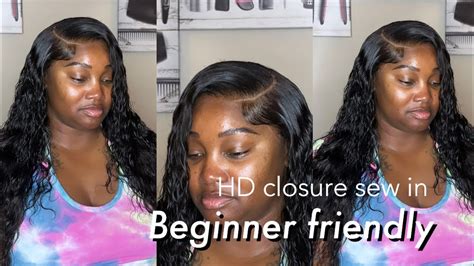
Are you tired of endless hours spent detangling and styling your natural hair? Embrace the transformative power of closure sew-ins and unlock a world of voluminous, sleek tresses. This ultimate guide will empower you with all the knowledge and techniques needed to achieve flawless closure sew-ins that will redefine your look and boost your confidence.

What is a Closure Sew-In?
A closure sew-in involves attaching a pre-made hair closure to the natural hair at the scalp using a weaving technique. The closure, typically made of lace or mesh, covers an area at the top of the head and provides a seamless blending point for hair extensions. This method creates a natural-looking, versatile hairstyle that can be styled as desired.
Benefits of Closure Sew-Ins
- Effortless Volume and Length: Enhance the volume and length of your natural hair effortlessly, without damaging it.
- Versatile Styling Options: Closure sew-ins allow for endless styling possibilities, from sleek buns to bouncy waves.
- Protective Hairstyle: The closure protects natural hair from heat styling and environmental damage, promoting hair growth.
- Time-Saving: Save countless hours on hair maintenance and styling with closure sew-ins that can last up to 12 weeks.
- Affordable and Accessible: Compared to other hair extension methods, closure sew-ins are relatively affordable.
Choosing the Right Closure
The key to a successful closure sew-in lies in choosing the right closure. Consider the following factors:
- Hair Type: Opt for a closure that matches your natural hair type for seamless blending.
- Closure Size: Select a closure that covers the desired area at the top of your head for optimal coverage.
- Lace Type: Choose between lace or mesh closures. Lace closures offer a more natural look, while mesh closures are more durable.
- Color: Match the closure color to your natural hair color to ensure a perfect transition.
Installation Process
- Prepare Natural Hair: Pre-wash and condition your natural hair, then braid it into cornrows for a secure foundation.
- Secure the Closure: Sew the closure onto the cornrows, beginning at the front and working towards the back.
- Cut and Style: Trim any excess lace or mesh from the closure, then style the hair as desired.
Tips and Tricks
- Use a Quality Closure: Invest in a high-quality closure that will last longer and provide a more natural look.
- Moisturize Regularly: Keep the sew-in and natural hair hydrated with regular moisturizing treatments.
- Avoid Heat Styling: Limit the use of heat styling tools on the closure to prevent damage.
- Get Professional Maintenance: Visit a hairstylist every 4-6 weeks for touch-ups and maintenance.
FAQs
Q: How long do closure sew-ins last?
A: With proper care and maintenance, closure sew-ins can last up to 12 weeks.
Q: Can I wash my sew-in?
A: Yes, you can wash closure sew-ins. Use lukewarm water, sulfate-free shampoo, and a deep conditioner.
Q: Is a closure sew-in damaging to my natural hair?
A: When installed and maintained properly, closure sew-ins do not damage natural hair. However, it’s important to follow proper care instructions.
Q: How much does a closure sew-in cost?
A: The cost of a closure sew-in varies depending on the length, texture, and quality of the hair. Generally, it can range from $500 to $1500.
Tables
Table 1: Closure Size Chart
| Closure Size | Head Coverage |
|---|---|
| 2×2 | Small (parting only) |
| 3×5 | Medium (half of head) |
| 4×4 | Large (entire head) |
| 5×5 | Extra Large (long and thick hair) |
Table 2: Lace Type Comparison
| Lace Type | Appearance | Durability |
|---|---|---|
| Swiss Lace | Transparent and natural | Less durable |
| French Lace | Similar to Swiss lace but thicker | More durable |
| HD Lace | Virtually invisible | Most durable |
Table 3: Closure Hair Texture Guide
| Hair Texture | Closure Options |
|---|---|
| Straight | Silky, Indian, Brazilian |
| Wavy | Loose, body, deep |
| Curly | Coily, kinky, Afro |
Table 4: Closure Sew-In Kit
| Item | Quantity |
|---|---|
| Closure | 1 |
| Weaving Needle | 1 |
| Thread | 1 |
| Scissors | 1 |
| Rattail Comb | 1 |
