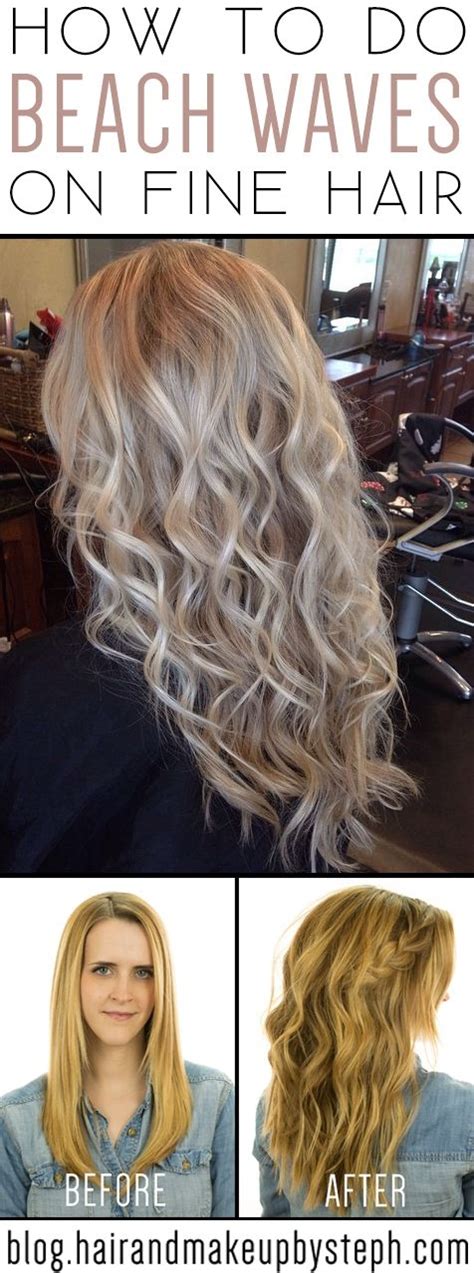
Fine hair can be a challenge to style, but with the right weave, you can achieve the luscious locks you’ve always dreamed of. Here’s a comprehensive guide to the best weaves for fine hair, along with expert tips and tricks to help you get the perfect look.

Table 1: Types of Weaves for Fine Hair
| Weave Type | Description |
|---|---|
| Clip-Ins | Temporary hair extensions that are attached to sections of your natural hair using clips. |
| Tape-Ins | Semi-permanent hair extensions that are attached to your natural hair using adhesive tape. |
| Fusion Extensions | Permanent hair extensions that are attached to your natural hair using heat or glue. |
| Sew-In Weaves | Braiding tracks of hair extensions into your natural hair to create a secure and long-lasting hold. |
Choosing the Best Weave for Your Hair Type
The best weave for fine hair depends on your hair texture, density, and desired look. Here’s a step-by-step approach to help you choose the right one:
Step 1: Determine Your Hair Texture
- Type 1 (Straight): Clip-ins or tape-ins are suitable for straight hair.
- Type 2 (Wavy): Tape-ins or fusion extensions are ideal for wavy hair.
- Type 3 (Curly): Fusion extensions or sew-in weaves provide the best hold for curly hair.
Step 2: Consider Your Hair Density
- Fine Hair: Choose clip-ins with lightweight extensions or tape-ins with a thin adhesive bond to avoid weighing down your hair.
- Medium Hair: Tape-ins or fusion extensions are suitable for medium density hair.
- Thick Hair: Sew-in weaves provide the strongest hold for thick hair.
Table 2: Pros and Cons of Weaves for Fine Hair
| Weave Type | Pros | Cons |
|---|---|---|
| Clip-Ins | – Easy to apply and remove | – Can be visible at the roots |
| Tape-Ins | – Natural-looking and comfortable | – May damage hair if not removed properly |
| Fusion Extensions | – Long-lasting and secure | – Can be expensive and require professional installation |
| Sew-In Weaves | – Versatile and customizable | – More time-consuming to install and remove |
Expert Tips for Fine Hair Weaves
- Use extensions that match your hair texture and color. This will ensure a natural-looking blend.
- Choose lightweight extensions. Heavy extensions can weigh down your hair and cause damage.
- Start with a small number of extensions. You can always add more later if needed.
- Avoid overloading your hair with extensions. Too many extensions can put stress on your scalp and hair follicles.
- Get regular trims. This will help to prevent split ends and keep your hair healthy.
Beyond the Basics: Innovative Weaves for Fine Hair
In addition to the traditional weaves listed above, there are also a number of innovative weaves specifically designed for fine hair. These include:
- Halo Wefts: A flexible band of hair extensions that wraps around your head, creating a natural-looking volume boost.
- Microbead Extensions: Small beads that are attached to sections of your hair and used to secure hair extensions.
- Strand-by-Strand Extensions: Individual hair extensions that are bonded to your natural hair using a special adhesive.
Table 3: Financial Considerations for Weaves
| Weave Type | Cost of Installation | Maintenance Cost |
|---|---|---|
| Clip-Ins | $100-$200 | $0-$50 per year |
| Tape-Ins | $200-$500 | $100-$200 per year |
| Fusion Extensions | $500-$1,000 | $200-$500 per year |
| Sew-In Weaves | $300-$700 | $150-$300 per year |
Table 4: Time Considerations for Weaves
| Weave Type | Installation Time | Removal Time |
|---|---|---|
| Clip-Ins | 1-2 hours | 30-60 minutes |
| Tape-Ins | 2-3 hours | 1-2 hours |
| Fusion Extensions | 3-6 hours | 2-3 hours |
| Sew-In Weaves | 6-12 hours | 3-6 hours |
Conclusion
With so many weave options available, you’re sure to find the perfect one for your fine hair. By following these tips and tricks, you can achieve the luscious locks you’ve always dreamed of. Remember to choose extensions that suit your hair type and density, and don’t be afraid to experiment with different weaves to find the one that best meets your needs.