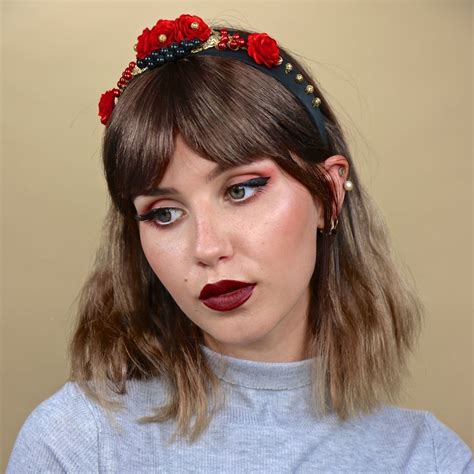
Reasons to Clip On the Fringe
- Instant Gratification: Transform your look in minutes without waiting for hair to grow.
- No Commitment: Easily remove the fringe when you’re ready for a change.
- Affordable Style: Achieve a fringe without the high cost of a salon appointment.
- Versatile Options: Choose from a variety of fringe styles, colors, and textures.
- Hide Imperfections: Conceal a receding hairline or uneven bangs.
- Enhance Facial Features: Frame your face and accentuate your eyes or cheekbones.
- Easy to Customize: Trim the fringe to the desired length and style.
- Low Maintenance: No need for regular trims or styling appointments.
- Damage-Free: Avoid potential hair damage caused by chemicals or heat styling.
- Trendy Accessory: Keep up with the latest hair trends without committing to a permanent style.
Types of Clip-In Fringe Hair
1. Synthetic Fringe
- Budget-friendly option
- Available in a wide range of colors and styles
- Not heat resistant, so cannot be styled with heat tools
2. Human Hair Fringe
- More expensive but provides a natural look and feel
- Can be styled with heat tools
- Requires more care and maintenance
3. Clip-In Bangs with Temporary Glue
- Securely attaches to hair without causing damage
- Ideal for parties or special events
- Easy to remove with water
How to Choose the Right Clip-In Fringe
-
Consider Face Shape:
– Round faces: Opt for side-swept or long fringes
– Oval faces: Most fringe styles will complement
– Square faces: Wispy or feathered fringes soften angles
– Heart-shaped faces: Fringe with shorter sides and longer center
-
Match Hair Texture:
– Straight hair: Choose fringes with a similar straight texture
– Wavy hair: Opt for fringes with some waves or curls
– Curly hair: Consider fringes with a looser, more voluminous texture -
Determine Size and Placement:
– Measure the width of your forehead where you want the fringe
– Position the fringe in the desired spot to ensure it fits comfortably
Step-by-Step Guide to Clipping on Fringe Hair
- Brush Hair: Detangle and smooth your natural hair.
- Section Hair: Part the hair where you want the fringe to be attached.
- Clip in Fringe: Align the clips along the sectioned hair and press down firmly.
- Blend: Gently brush or comb the fringe into your natural hair to create a seamless transition.
- Style: If desired, use heat tools or styling products to customize the fringe.
Common Mistakes to Avoid
- Overloading: Don’t clip in too many pieces of fringe, as it can create bulkiness.
- Uneven Attachment: Ensure the clips are evenly distributed along the sectioned hair.
- Visible Weft: Use a concealer or hairspray to hide the weft (the area where the clips are attached).
- Heat Damage: Avoid excessive heat on synthetic fringe, as it can cause melting or damage.
- Tangles: Brush the fringe regularly to prevent tangles or matting.
Pros and Cons of Clip-In Fringe Hair
Pros:
- Quick and easy to apply
- Affordable and versatile
- No commitment or long-term maintenance
- Damage-free
- Hides imperfections
Cons:
- May not last as long as permanent fringes
- Synthetic fringes are not heat resistant
- Requires blending for a natural look
- Can feel uncomfortable if not worn properly
- Not suitable for all hair types or textures
Transform Your Look with Clip-In Fringe Hair
Embrace the transformative power of clip-in fringe hair and instantly elevate your style. From concealing imperfections to enhancing facial features, there’s a fringe solution for every taste and need. Choose the perfect fringe for your face shape, hair texture, and lifestyle, and enjoy the endless possibilities of clip-on hair enhancements.