Introduction
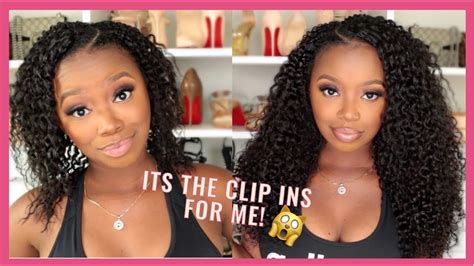
Are you ready to unlock the secret to effortlessly gorgeous hair? Look no further than hair clip ins! These versatile and incredibly convenient hair extensions offer an instant solution to adding length, volume, and color to your tresses without the commitment or expense of a salon visit. In this comprehensive guide, we’ll explore everything you need to know about hair clip ins, from choosing the right set to achieving flawless installation and care.

Understanding the Types of Hair Clip Ins
- Human Hair Clip Ins: Indulge in the ultimate luxury and natural appearance with human hair clip ins. Made from premium-quality real hair, these extensions provide a seamless blend with your own strands and can last for several months with proper care.
- Synthetic Hair Clip Ins: A budget-friendly alternative to human hair, synthetic hair clip ins offer a wide range of colors and textures. While they may not be as durable as human hair extensions, they still deliver a stunning transformation at an affordable price.
Choosing the Perfect Clip-In Set
- Length: Consider the desired length you want for your extended locks. Clip-ins come in various lengths, from short bobs to extra-long mermaid hair.
- Volume: Determine the amount of volume you need to achieve your desired fullness. Clip-ins come in different wefts, which are the strips of hair attached to the clips. Each weft adds a certain amount of volume.
- Color: Match the color of your clip-ins to your natural hair as closely as possible. You can also opt for highlights or lowlights to add depth and dimension.
- Texture: Choose clip-ins that match the texture of your own hair, whether it’s straight, wavy, curly, or coily. This ensures a natural-looking blend.
- Clips: Opt for high-quality clips that stay securely in your hair without slipping or damaging your own strands.
Step-by-Step Installation Guide
- Section Your Hair: Divide your hair into sections to make the installation process easier. Secure most of your hair at the crown with a clip or ponytail holder.
- Tease and Section: Create a thin section of hair at the crown of your head and tease it lightly to create some grip. Divide this section into two smaller sections.
- Insert the Clip: Open the clip on a clip-in weft and slide it into the thin, teased section of hair. Secure the clip by pressing it firmly.
- Repeat: Continue installing clip-in wefts in sections throughout your hair, working from the bottom up. Leave out a few inches of hair at the roots for a natural look.
- Blend and Style: Once all wefts are in place, blend them with your own hair by brushing through and styling as desired.
Tips and Tricks for Flawless Hair Clip Ins
- Avoid Over-Tease: Teasing can help secure clip-ins, but avoid over-teasing, as this can damage your hair.
- Hide the Clips: Position clips strategically under your own hair so that they’re not visible.
- Use Heat Tools Sparingly: Heat styling can damage clip-ins, so limit use and apply a heat protectant spray beforehand.
- Wash Regularly: Wash clip-ins regularly with shampoo and conditioner designed for extensions. Use cold water and avoid harsh products.
- Store Properly: When not in use, store clip-ins in a cool, dry place away from direct sunlight.
Why Hair Clip Ins Matter
- Instant Transformation: Transform your hair in minutes without the time and expense of salon visits.
- Versatility: Change your look as often as you like, creating endless styles with ease.
- Damage-Free: Clip-ins are a non-damaging way to add volume and length to your hair, unlike permanent extensions or chemical treatments.
- Confidence Boost: Long, voluminous hair can enhance your confidence and make you feel beautiful.
- Cost-Effective: Compared to salon extensions or wigs, hair clip ins offer a more budget-friendly way to achieve the same gorgeous results.
Benefits of Hair Clip Ins
- Length: Add instant length to your hair, achieving a mermaid-like mane without waiting months for your natural hair to grow.
- Volume: Enhance the fullness of your hair, creating a more voluminous and flattering look.
- Color: Experiment with new hair colors without committing to a permanent dye job.
- Style: Create endless styles, from sultry waves to voluminous updos, with the versatility of clip-ins.
- Confidence: Boost your confidence and feel more beautiful with the perfect hair you’ve always dreamed of.
Customer Testimonials
“Hair clip ins have completely changed my hair game! I went from feeling blah with thin, short hair to having long, voluminous locks in an instant. I love being able to experiment with different colors and styles without damaging my own hair.” – Sarah, 25
“As a busy mom, I don’t have time for expensive salon appointments. Hair clip ins are my secret weapon for looking polished and put-together in minutes. They’re so easy to use and blend seamlessly with my own hair.” – Emily, 32
Inspirement for New Applications
Unleash your creativity and explore these novel uses for hair clip ins:
- Hair Accessories: Adorn your hair with clip-ins as hair accessories. Attach a single clip-in as a hair bun cuff or create an eye-catching headband by connecting multiple wefts.
- Hair Extensions for Bangs: Transform your forehead with clip-in bangs. Experiment with different lengths, textures, and colors to find the perfect fringe for your face shape.
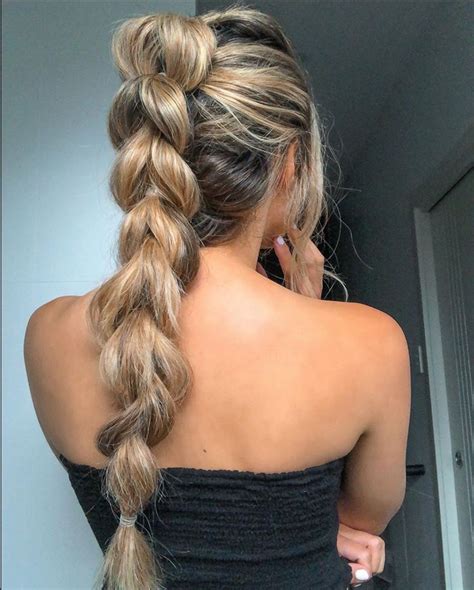
- Clip-In Ponytails: Say goodbye to messy ponytails with clip-in extensions. Add instant fullness and length to your ponytail, creating a polished and sophisticated look.
- Hair Volume for Braids: Enhance the volume of your braids by incorporating hair clip ins. Weave in clip-in wefts before braiding to create a more voluminous and impressive style.
Tables for Quick Reference
| Type of Clip-Ins | Pros | Cons |
|---|---|---|
| Human Hair | Natural appearance, durable, blend well | Expensive |
| Synthetic Hair | Budget-friendly, wide range of colors, easy to style | Less durable, not as natural-looking |
| Clip-In Installation Guide | Step | Instructions |
|---|---|---|
| Sectioning | 1 | Divide hair into sections, tease crown section, and section into two smaller sections. |
| Insertion | 2 | Insert clip-in weft into teased section and secure clip. |
| Repeat | 3 | Repeat installation in sections throughout hair, leaving out a few inches at roots. |
| Blending | 4 | Brush through and style hair to blend clip-ins with own hair. |
| Benefits of Hair Clip Ins | Benefit | Explanation |
|---|---|---|
| Instant Transformation | Add length, volume, and color in minutes | Transform hair without salon visits or damage. |
| Versatility | Change look as often as desired | Create endless styles from waves to updos. |
| Damage-Free | Non-damaging method | Unlike permanent extensions or chemical treatments. |
| Tips and Tricks for Hair Clip Ins | Tip | Explanation |
|---|---|---|
| Avoid Over-Tease | Tease lightly to create grip without damaging hair | |
| Hide the Clips | Position clips strategically under hair | |
| Use Heat Tools Sparingly | Limit heat styling and apply heat protectant | |
| Wash Regularly | Wash clip-ins with shampoo and conditioner designed for extensions | |
| Store Properly | Store clip-ins in a cool, dry place away from sunlight |
