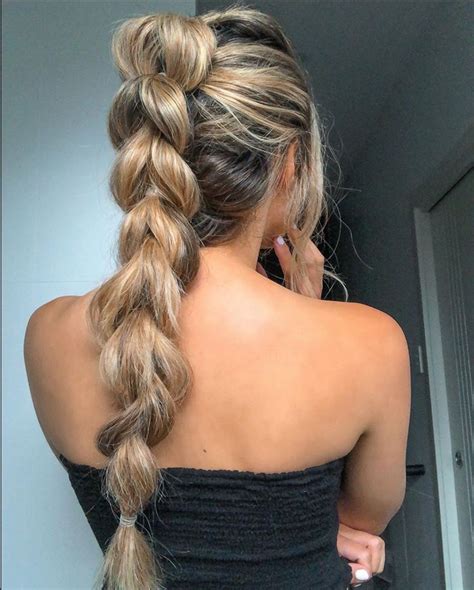
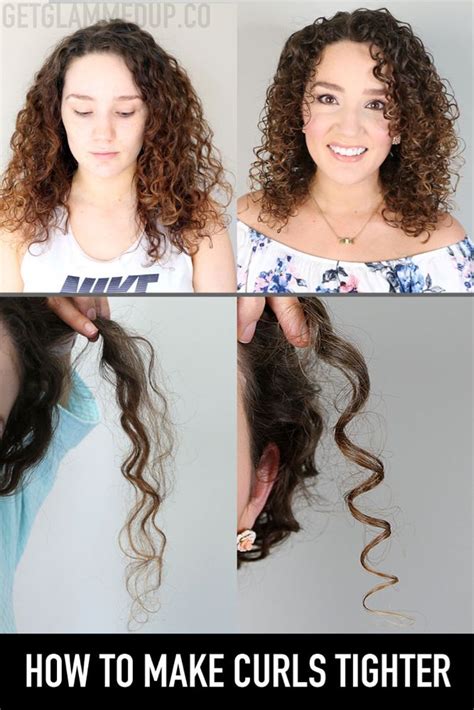
A curly hair sew in is a hair extension technique that involves sewing in wefts of curly hair to the natural hair. This method is ideal for achieving voluminous, long-lasting curls without damaging the natural hair.

Benefits of Curly Hair Sew In
- Voluminous curls: Sew-in extensions add instant volume and length to natural hair, creating a fuller, more dramatic look.
- Long-lasting style: Sew-in extensions typically last for 6-12 weeks, providing a convenient way to maintain a curly hairstyle without frequent styling.
- Protective style: Sew-in extensions protect natural hair from damage caused by heat styling, chemicals, and environmental factors.
- Versatile: Sew-in extensions come in a wide range of textures, lengths, and colors, allowing for customization to match personal preferences and hair type.
Choosing the Right Curly Hair Extensions
- Texture: Match the texture of the extensions to your natural hair for a seamless blend. Consider using extensions with a similar curl pattern and thickness.
- Length: Determine the desired length before purchasing extensions. Longer extensions require more wefts and installation time.
- Color: Choose extensions that complement your natural hair color or experiment with highlights or lowlights to add depth and dimension.
- Quality: Invest in high-quality extensions made from 100% human hair for durability and a natural look.
Step-by-Step Curly Hair Sew In
1. Preparation:
- Wash and deep condition natural hair before the installation.
- Part the hair into sections for easy weaving.
- Apply a leave-in conditioner to protect the natural hair.
2. Cornrow:
- Braid the natural hair into cornrows as a base for sewing in the extensions.
- Start braiding from the nape of the neck and work towards the front.
3. Sewing:
- Thread a curved needle with hair extension thread.
- Sew the wefts of curly extensions to the cornrows, starting from the nape of the neck.
- Use a tight stitch to secure the extensions firmly.
4. Styling:
- Trim any excess hair from the extensions for a neat finish.
- Style the curly extensions using a wide-toothed comb or a diffuser to enhance the curls.
- Use hairspray or a curl cream to hold the style in place.
Common Mistakes to Avoid
- Over-weaving: Avoid sewing too many wefts into the cornrows, as this can lead to tension on the natural hair and breakage.
- Too-tight stitching: Stitch the extensions securely, but avoid pulling too tightly, as this can damage the natural hair.
- Neglecting maintenance: Regular maintenance is essential to keep the curly hair sew in looking its best. Wash, condition, and style the extensions as needed.
- Sleeping on wet extensions: Wet extensions are prone to matting. Always air-dry or blow-dry the extensions before bed.
Pros and Cons of Curly Hair Sew In
Pros:
- Volume and length
- Long-lasting style
- Protective hairstyle
- Versatile styling options
Cons:
- Cost
- Installation time
- Regular maintenance required
- May not be suitable for all hair types
Table 1: Comparison of Curly Hair Extension Types
| Extension Type | Pros | Cons |
|---|---|---|
| Micro-Links | Small, cold-fused links | Can damage natural hair if not installed correctly |
| Tape-In | Lightweight, easy to remove | May not last as long as other methods |
| Sew-In | Long-lasting, protective | More expensive, installation can take longer |
| Fusion | Strong hold, can add extreme length | Requires heat, can damage natural hair |
Table 2: Cost of Curly Hair Sew In
| City | Average Cost |
|---|---|
| New York, NY | $700-$1,500 |
| Los Angeles, CA | $600-$1,200 |
| Chicago, IL | $500-$1,000 |
| Atlanta, GA | $450-$900 |
Table 3: Maintenance Schedule for Curly Hair Sew In
| Task | Frequency |
|---|---|
| Wash | Every 7-10 days |
| Deep Condition | Every 2-3 weeks |
| Trim | As needed |
| Style | As desired |
Table 4: Potential Hair Damage from Curly Hair Sew In
| Factor | Risk Level |
|---|---|
| Tension from weaves | High |
| Tight stitching | Medium |
| Heat styling | Low |
| Chemical processing | Very low |
